Wow, it’s been a while y’all since we have updated this blog! Our newest renovation project was converting our study to a guest room/ sitting room/ study. Honestly, I don’t know what we were thinking between both of us working, the kids being kids, and Michael’s MBA program.. We barely found the time. But, every night after the kids went to bed, we made a little progress until we finally completed it!
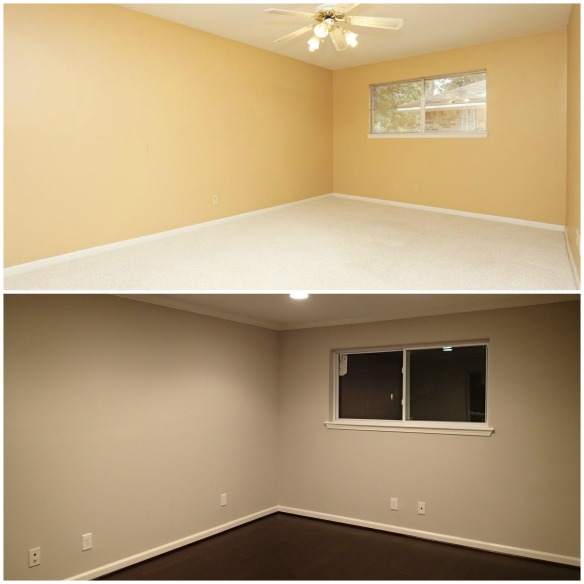
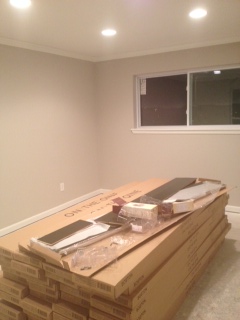
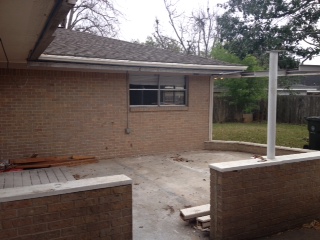
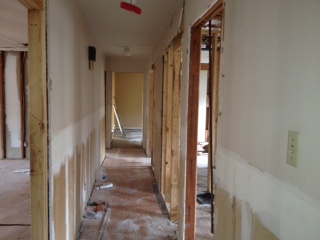
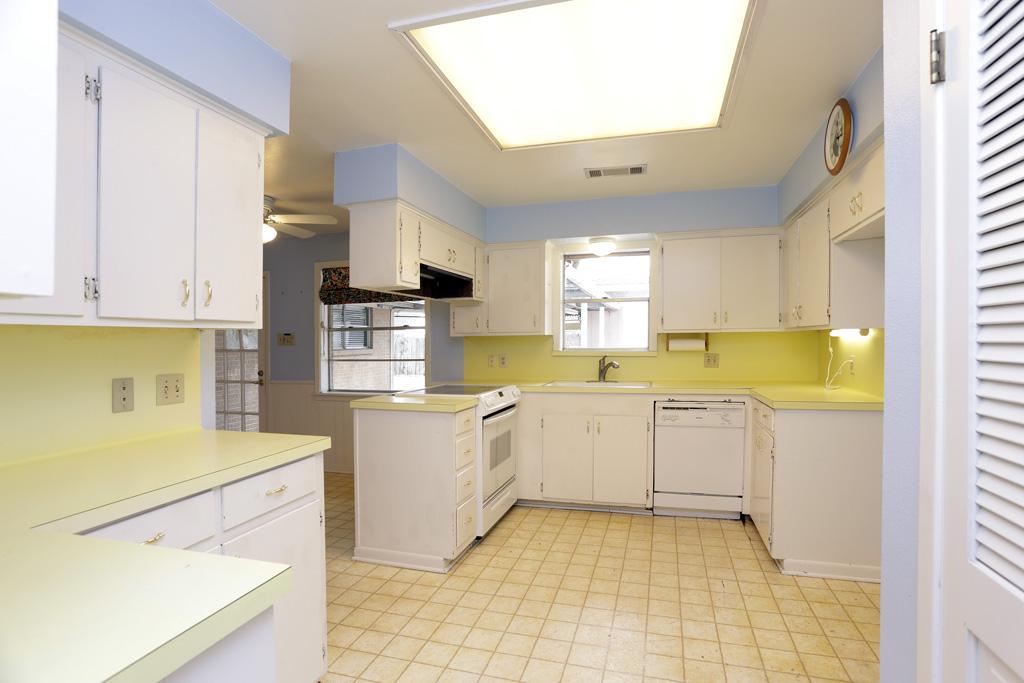
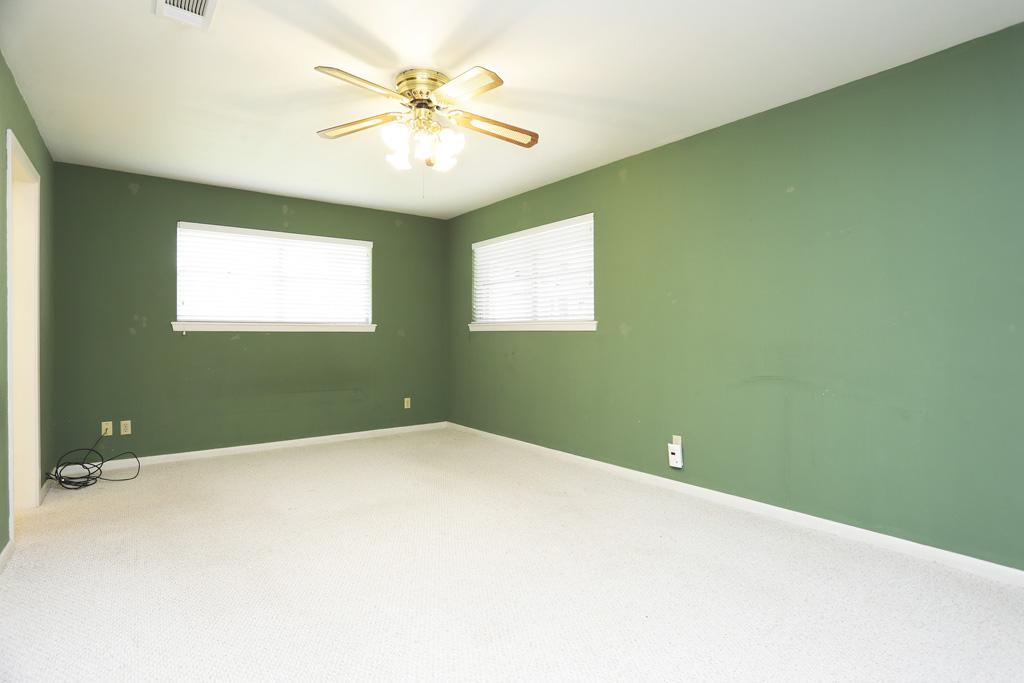
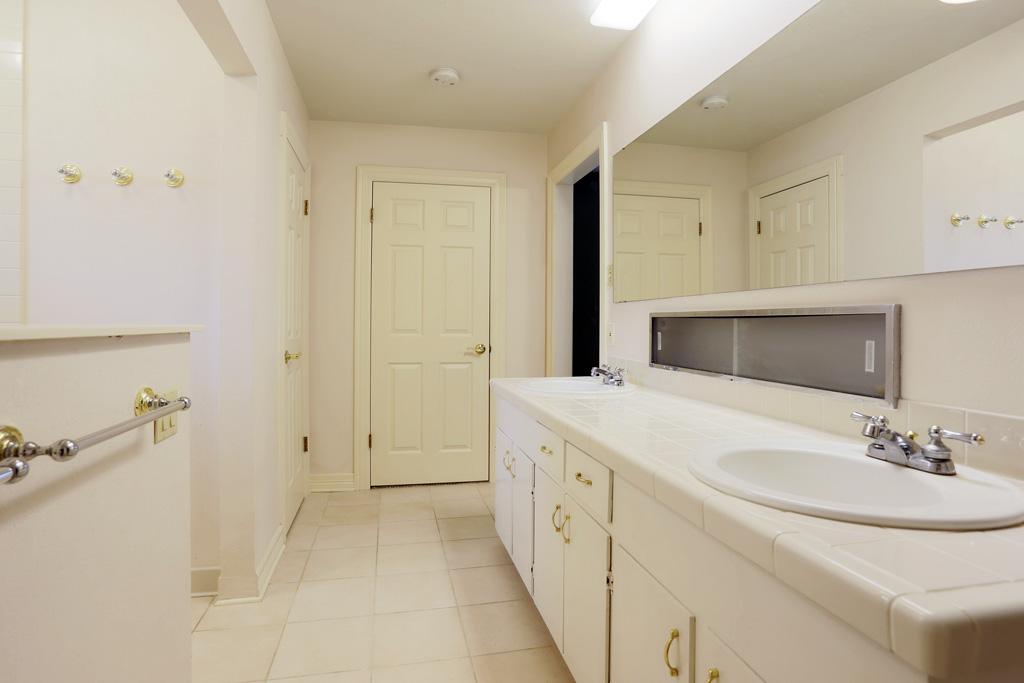
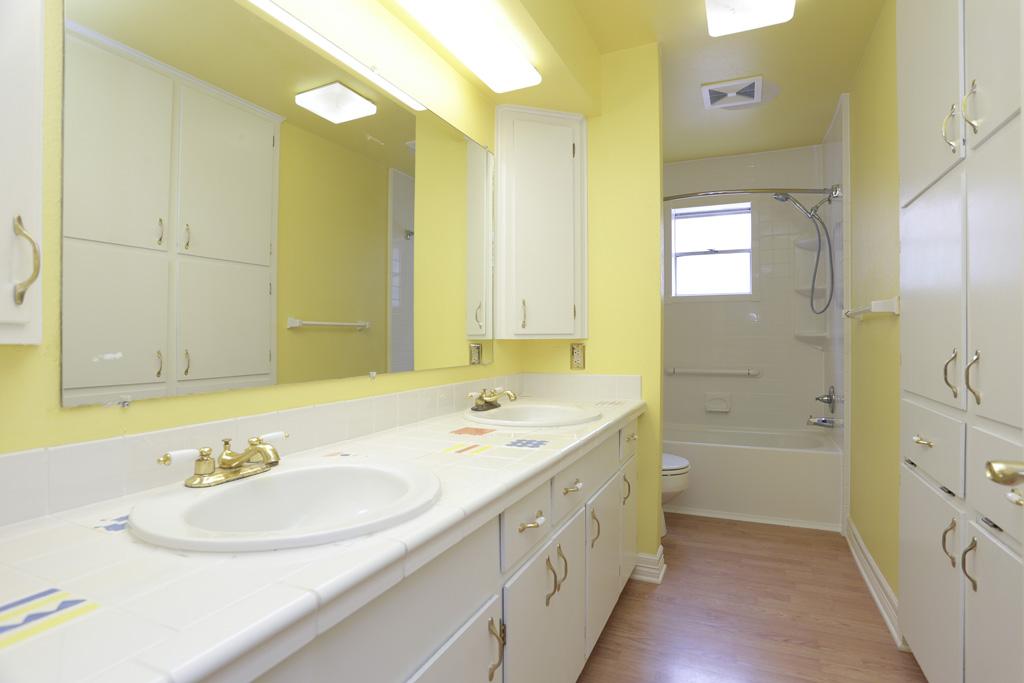
Before & After


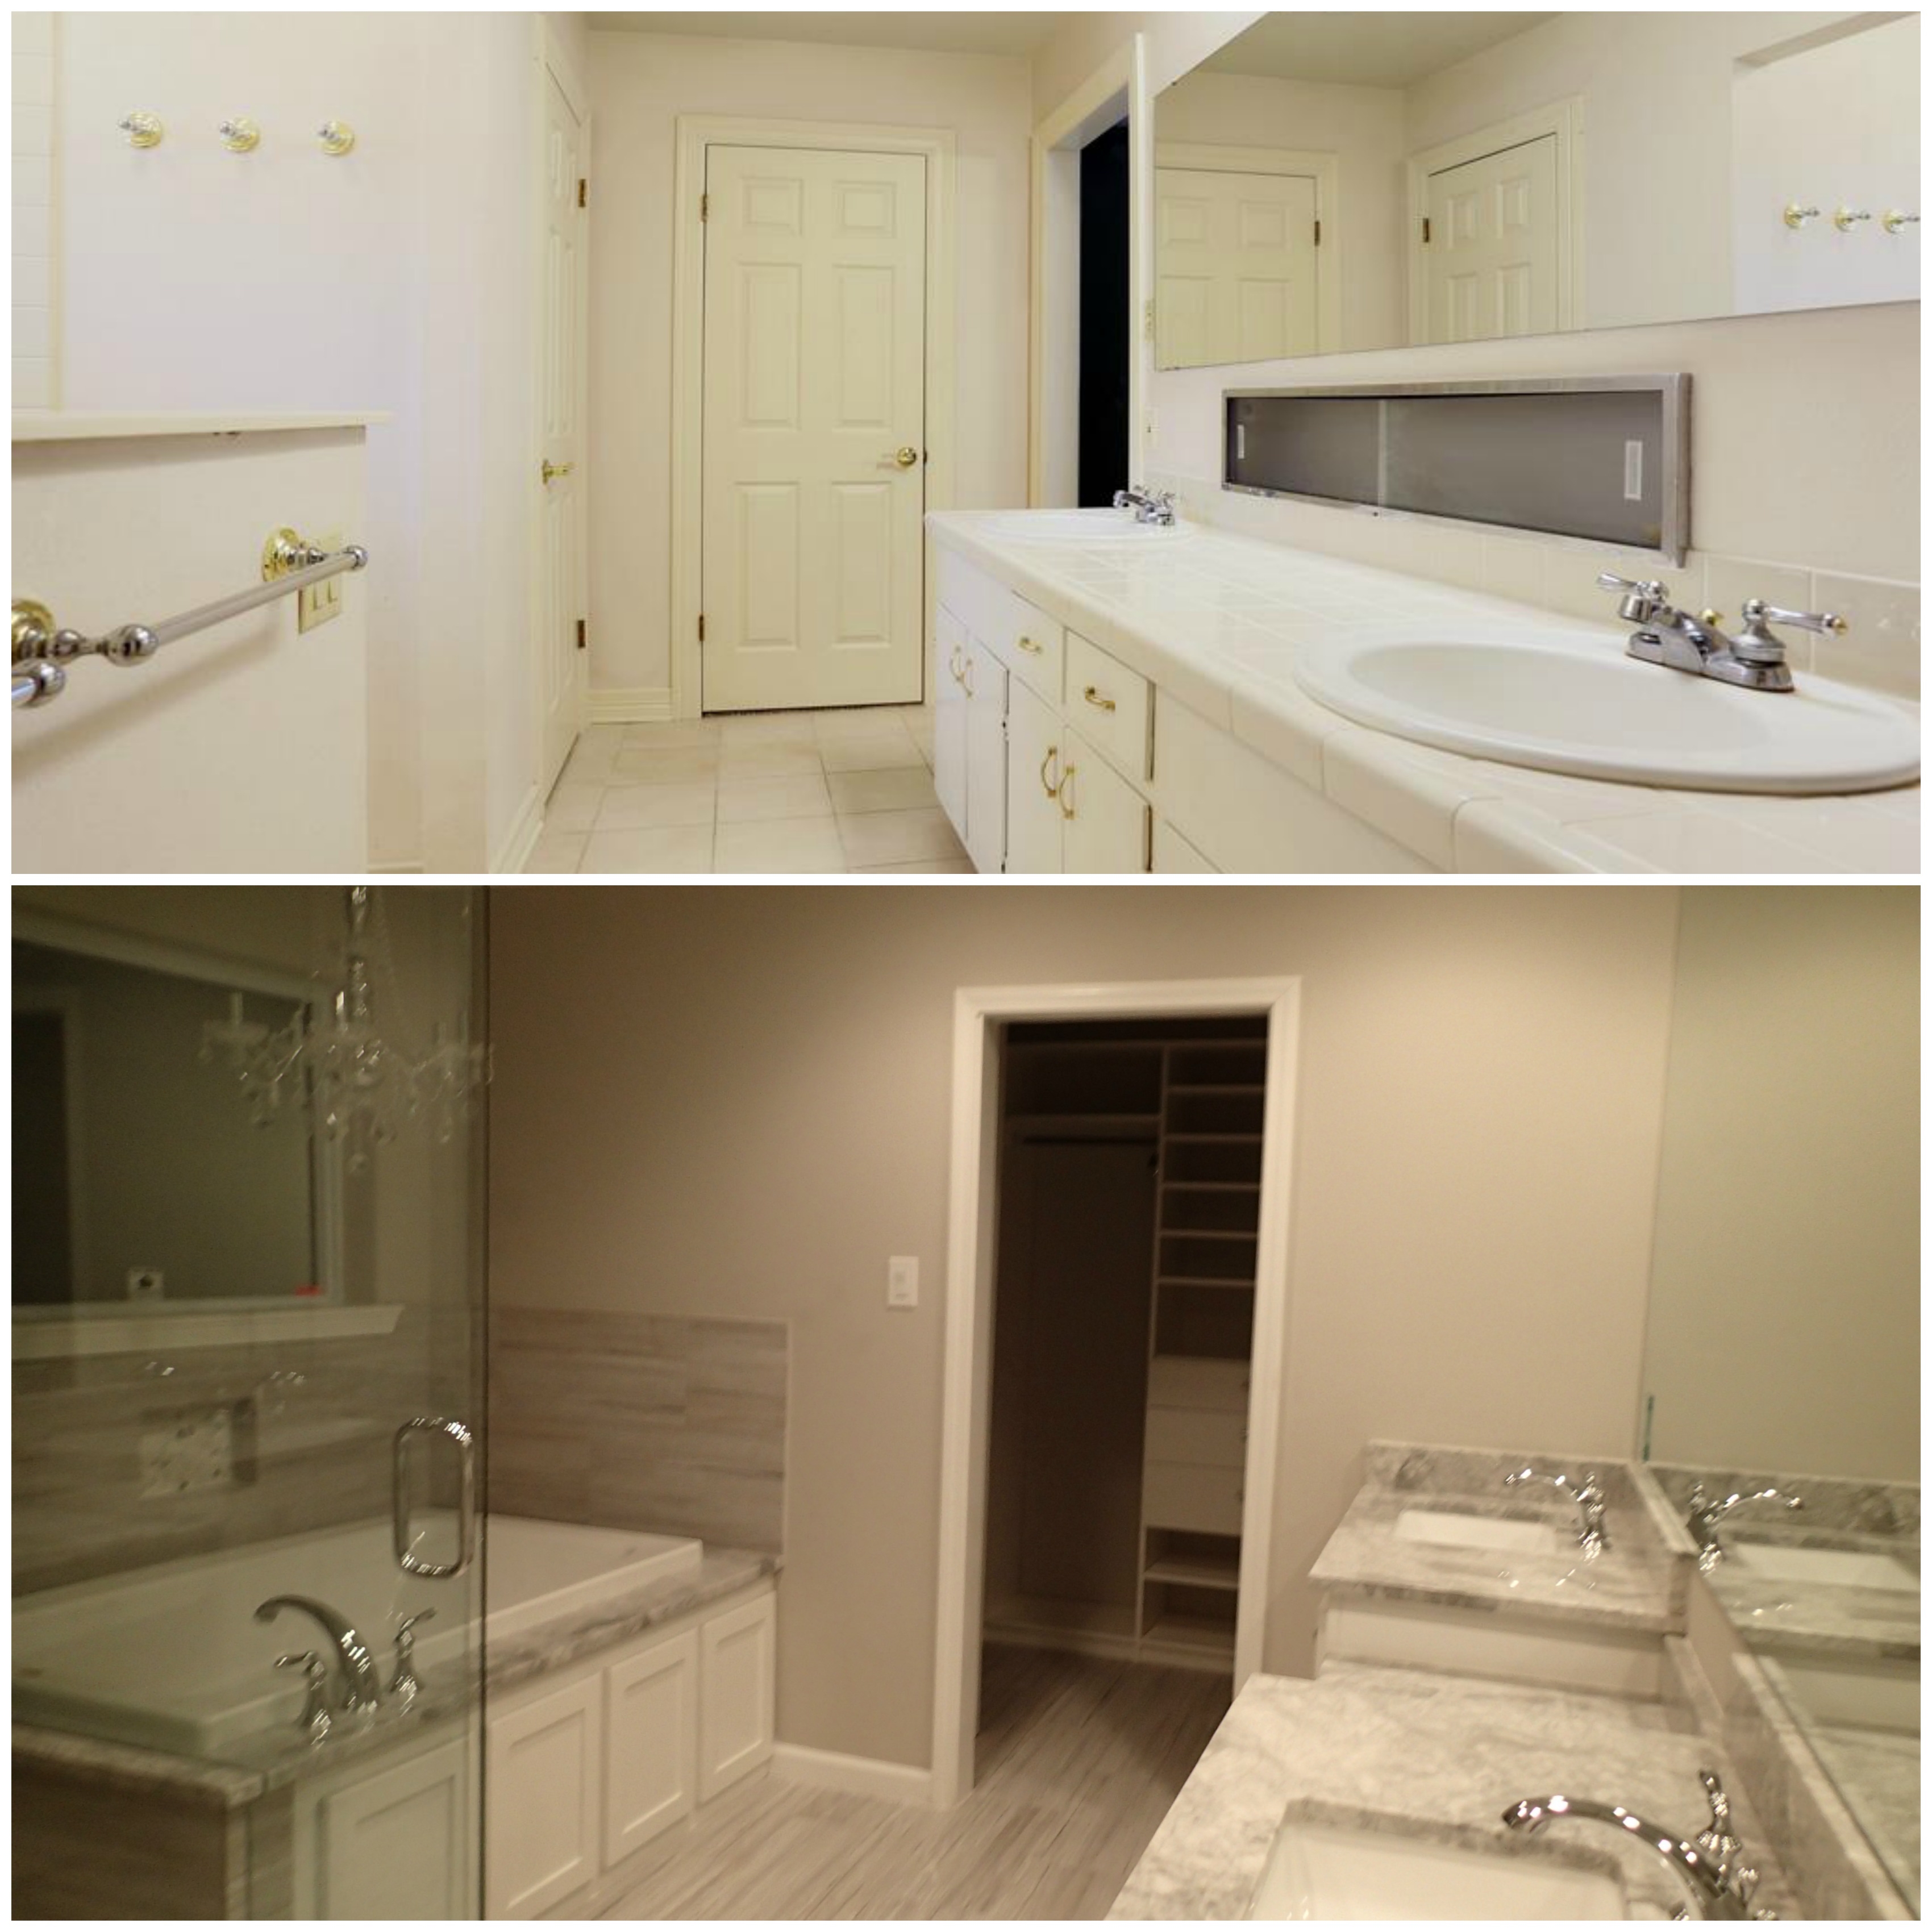
Before & After

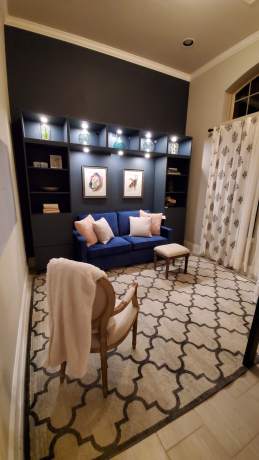
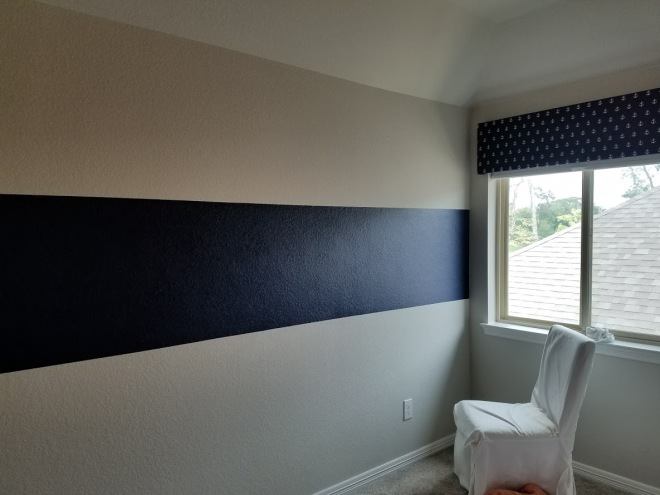
Step 1: We measured our wall and tried to find a couch that would be the perfect length. I wanted a dark blue velvet couch because well, why not? It had to be dark blue AND velvet AND a sleeper sofa..
Luckily, I found one on wayfair! The width was 70 inches so now I was on the hunt for a book case that would fit on both ends. We got lucky that the besta ikea system fit perfectly. This was with hours after searching btw…
Step 2: Buy ikea furniture and paint. Alright yall – here is my tip on this.. DO NOT BUY IKEA FURNITURE AND PAINT IT. We thought it wouldn’t be so bad, but we were wrong.
Step 3: Assemble. Once we painted the furniture after multiple coats using a special primer, we tried to assemble it. Since the ikea pieces are made to fit perfectly together, there was really no room for extra coats of paint that layered each piece. This made it incredibly difficult to assemble. yall – it took us hours….
Here is a photo of us using a car jack to try to break a panel free after it getting stuck from paint.

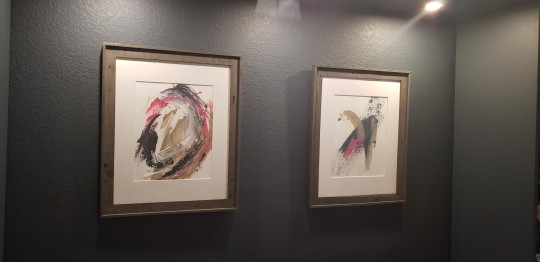
Step 4: Decorate! I was hoping to save some $$ and just paint some photos. I enlisted my Juliette and Michael to help. Juliette practically painted the photo on the left. Of course, I helped a little and edited, but for the most part, she did it! Michael painted the one on the right and ta-da, $ saved!

Alright yall – that’s it for now! We love it and can’t wait to add some more in the coming weeks 🙂
xoxo
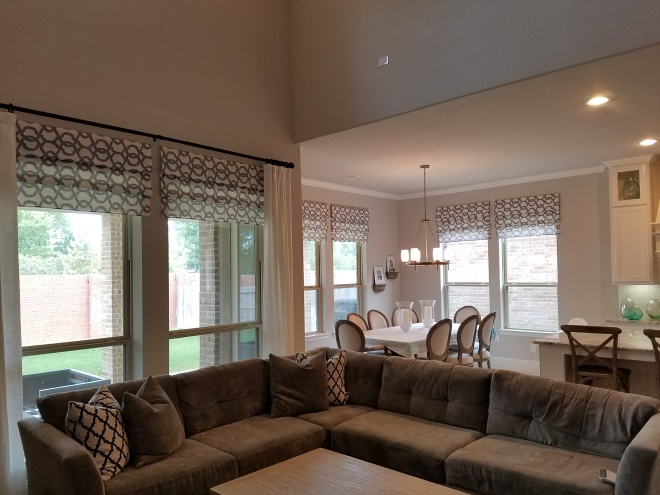
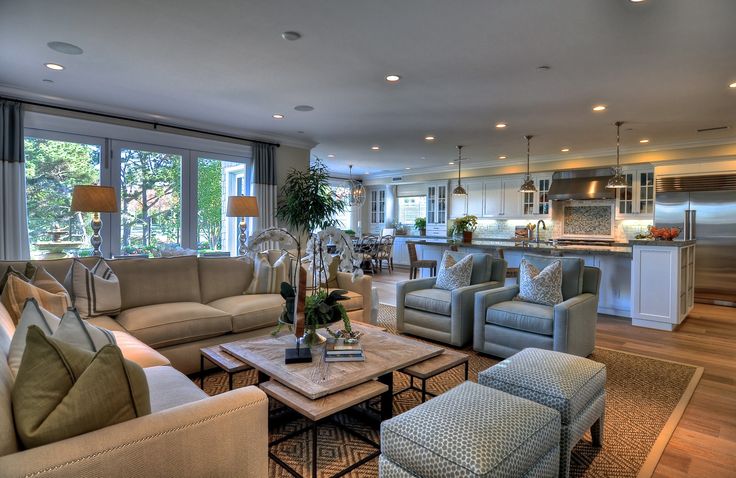
 Michael and I have been working on a couple of projects lately around the house and I’m pleased to say that I think we are finally done with our master bedroom, 75% done with our living area, and 50% done with our nursery! Here is a little sneak peak on all of our do-it-yourself projects (many inspired by Pinterest, of course!). I will say, although the DIY concept is supposed to save some $$, sometimes these projects weren’t always the cheapest! But, nonetheless a cheaper alternative to a really custom item.